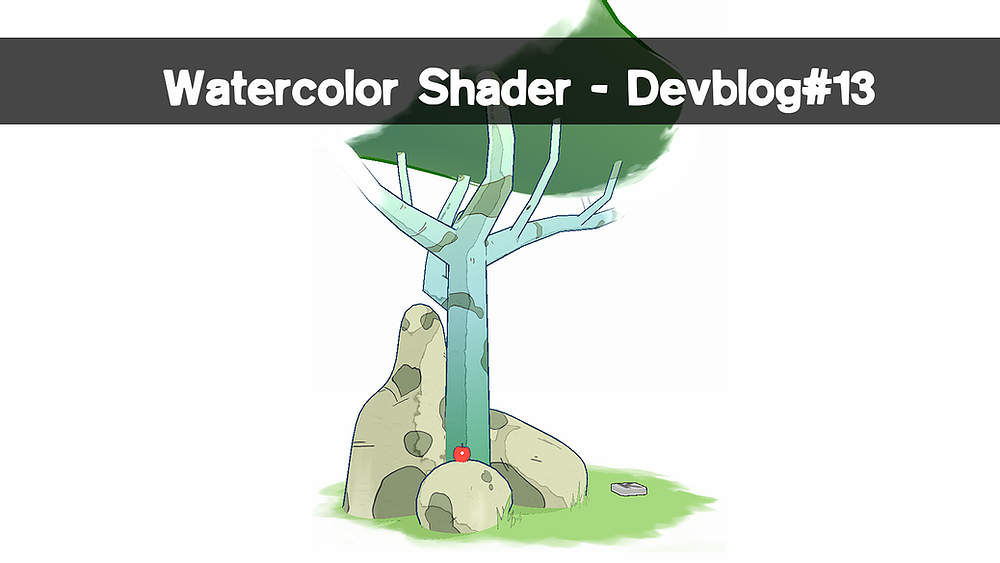
How about a devlog about a watercolor shader? Sounds good! And you don’t even have to bring your brush with you!
Inspiration
Let’s talk first about what inspired me to make this watercolor shader in the first place.
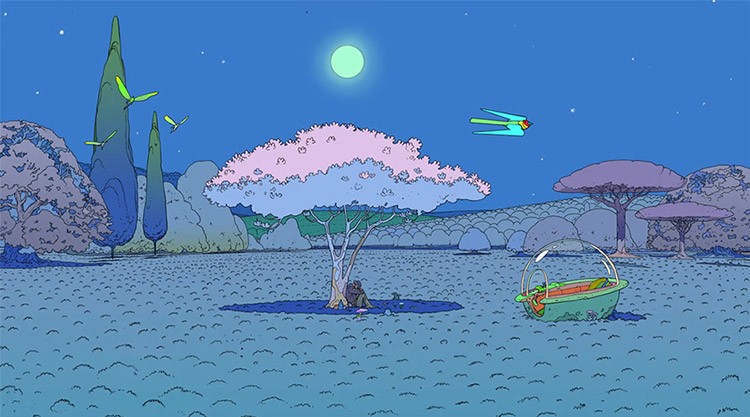
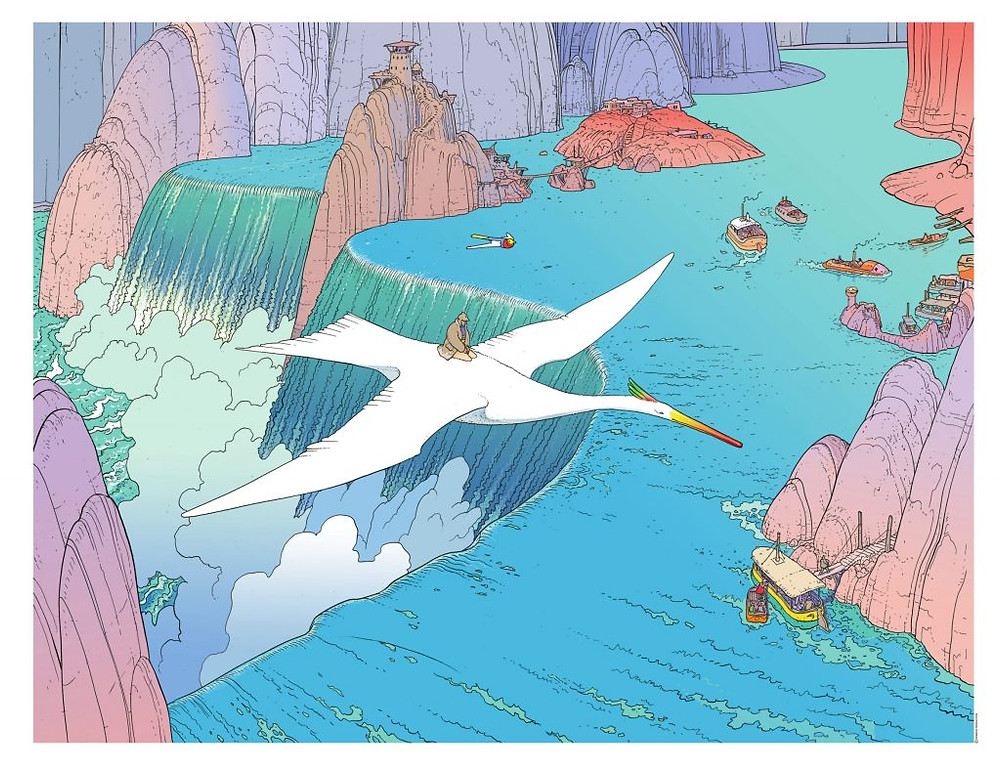
I’m a big fan of Moebius and when I saw the tweet from @harry I knew I had to try and emulate that sweet style.
And I think I’ve succeeded, you can see the result of the shader in the last LDJAM I did HERE.
Quick gif of it:http://web.archive.org/web/20201130175714if_/https://static.jam.vg/raw/b1b/91/z/28d20.gif
I’ll talk more about the design and the process and show some textures.
What we want to have
For it I want to have:
-A cutout texture
-Outline
-Unlit with colored shadow
-Moving shadow
-Moving textures
-Ink Fx Mask
The Base
We start with a base shader in Unity3D with light and texture.
This is the base shader for the watercolor effect. This includes color, texture, and fog.
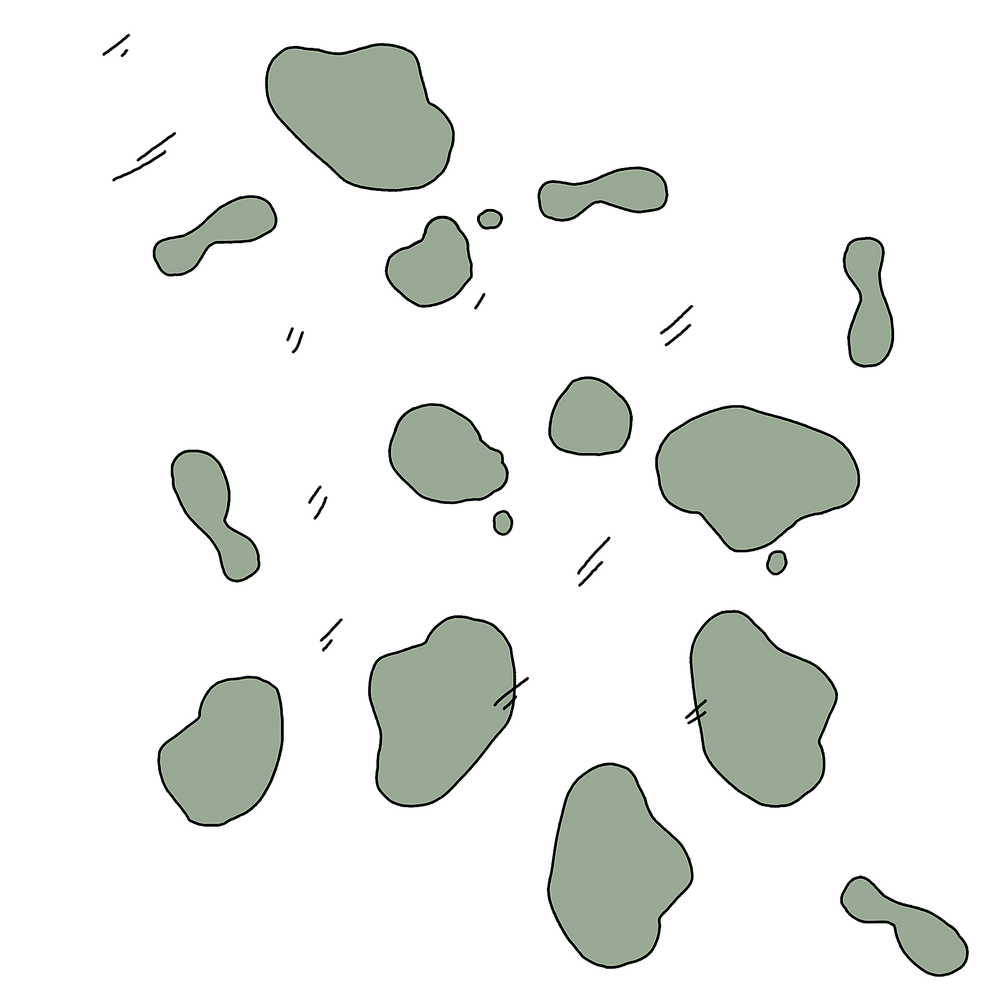
I simply made patches of color and used the Fx tool in Photoshop to get a clear black outline, the background is transparent because I use the alpha channel to mask the base color of the asset.
Outline
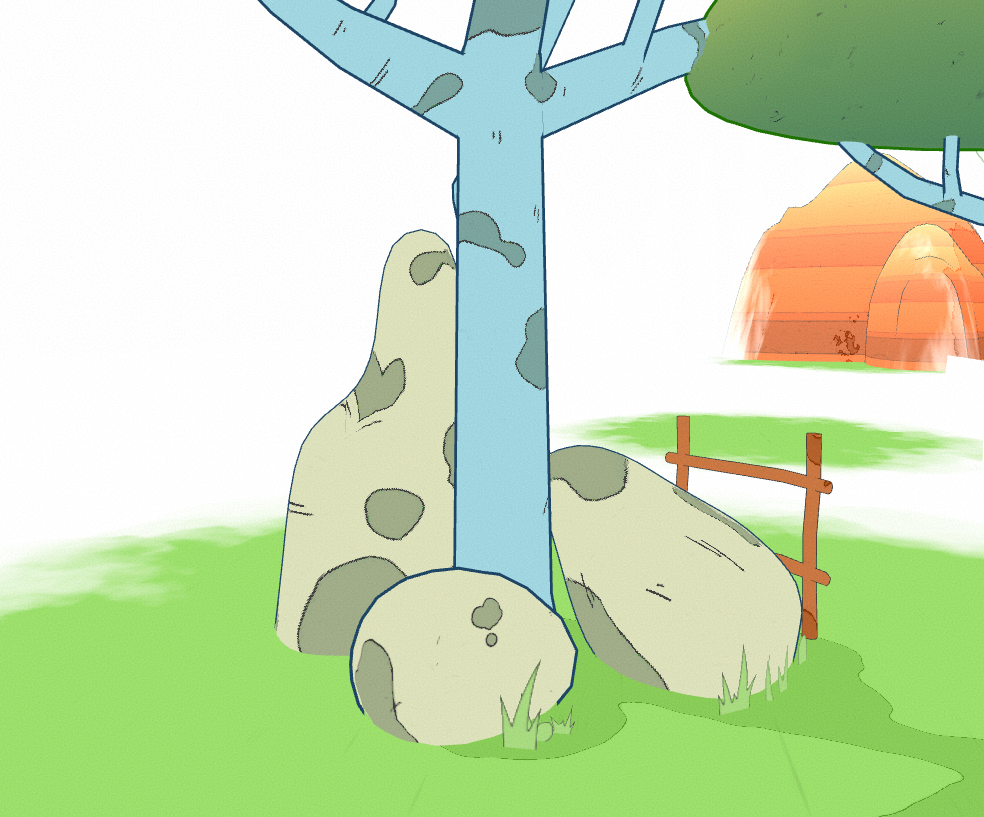
The outline is pretty basic and doesn’t need a lot of explanation, only later because of the ink mask I’ve got for the “fade” effect.
Add the shadow
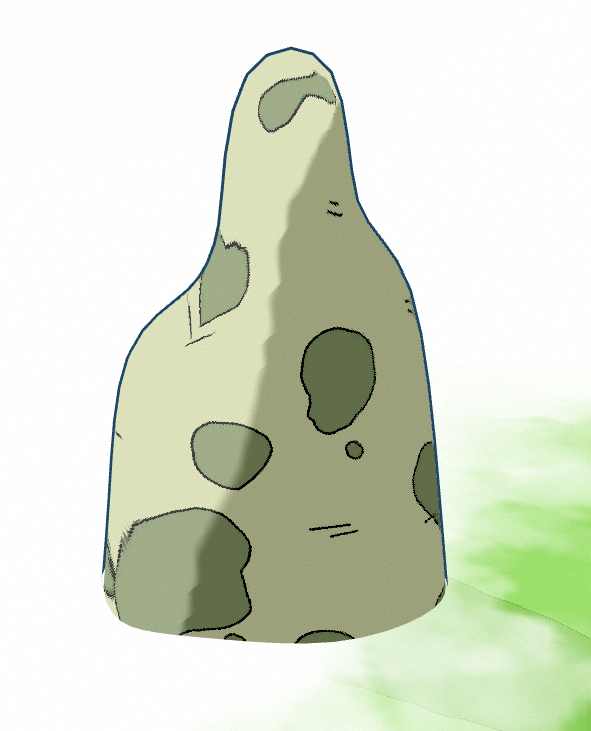
Now we’re going to have fun with shadow and it’s really easy to do in the fragment shader, also we can color the shadow in this process 🙂
The shader is getting a bit long so I retracted it. A couple of things to pay attention to, I added the line “uniform float4 _ShadowColor;” which is the color value for the shadow but it’s not a property in the shader, it’s a property modifiable via shader, but you can as well put a _ShadowColor in the property of the shader if you want to control it via material.
There is also the use of a smooth step function to control the shape of the shadow, which will be useful for what we need to do next!
Also on the screenshot, you can see some grains added by the post process of the camera, adding grain is a good way to have that watercolor paper vibe.
Make the shadow move
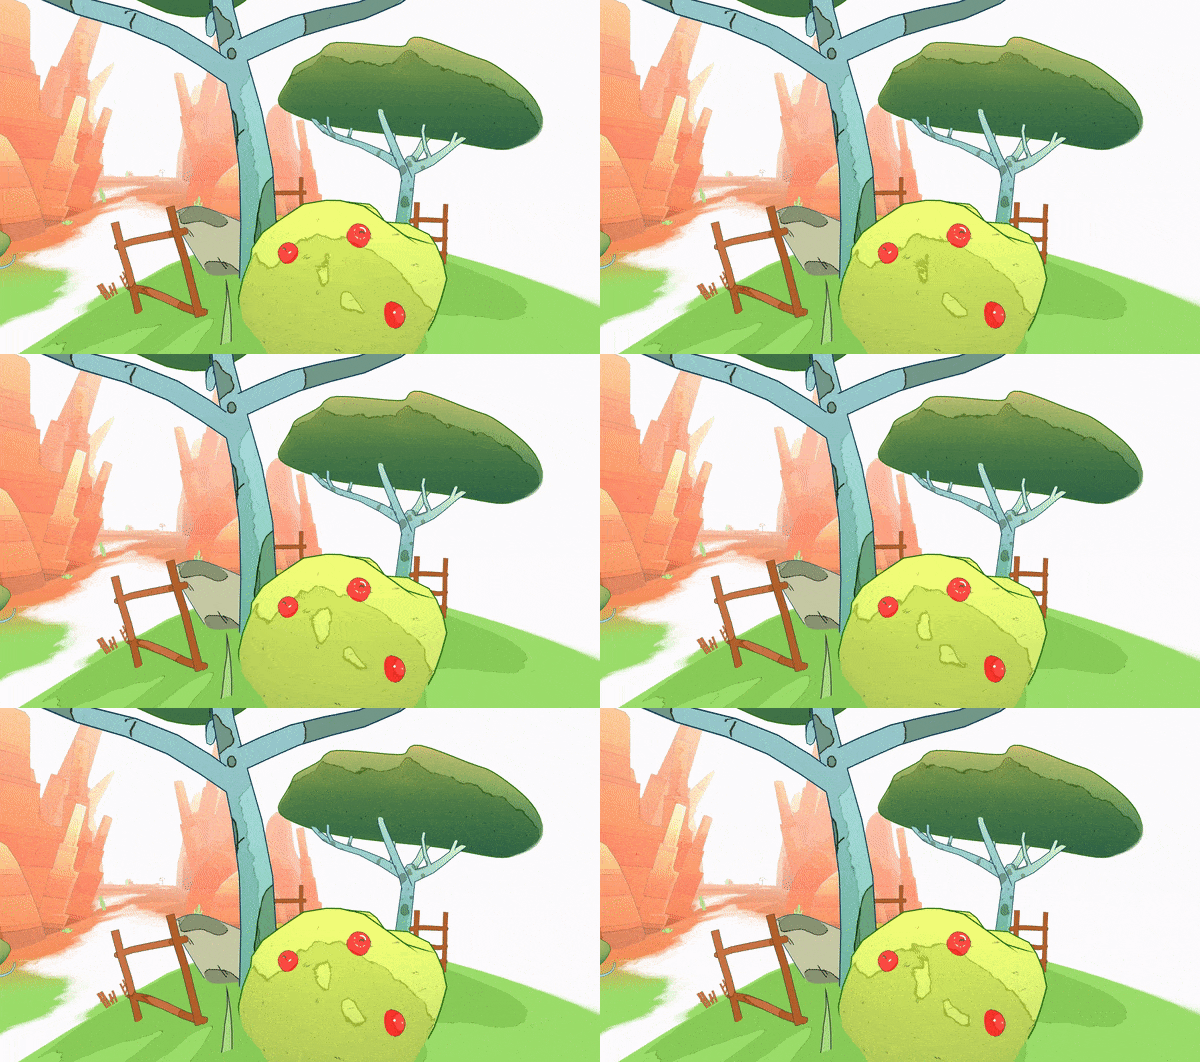
You may not want to have this in your game or for your visual assets but I like to have some kind of life in my environment and I prefer to do it via shader.
A moving shadow makes the asset look watery.
I’ve also added a color gradient for that subtle Moebius/watercolor color easing.
Don’t mind the magic flying values, I’m a math wizard.
The actual import part of the shadow control is here:
I use a lot of smoothstep to control how the shadow line should behave then I lerp it to a second inverted shadow line to get that saturated dark watery edge you get when you put too much water with watercolor.
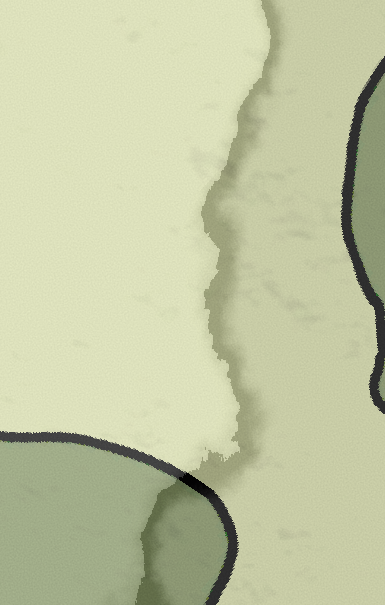
There are many more things to the shader like a moving background texture declared at this line:
And the color gradient at these lines:
If you want to stop there you should because the next step is a bit more advanced and if you don’t know what you’re doing it will not work for you. The last one is good for a watercolor effect without any mask or additional effect, the only thing you can change to make it better is by drawing your own textures.
Ink mask
/!\ If you don’t want the mask use the shader code with moving shadows above!
This is an example for the use of the Ink mask in the project. It’s a great way to instantiate objects with Fx etc… And it keeps the visuals interesting and alive.
For that, you’ll need a RenderTexture and a Camera to render it.
This is the full final shader of the effect, I tried to clean it up a bit.
If you’re not familiar with using RenderTextures in shader let me explain with some lines from it.
Uniform means you’re getting it from a global value that you can modify via script much like how I manage the shadow color.
Here is the Script for it to place on the Fx Camera:
_GlobalEffectRT Is the rendered image by the Fx Camera
_OrthographicCamSize Gives the orthographic size of said camera
_Position Is the center position of the camera
And these lines calculate the uv world of the new rendered image depending on the ortho size and position in the world.
You’ll need to set up a layer for your Fx to be rendered only on the Fx camera and use the red channel only for your particular because of this line:
And that’s it for the watercolor shader effect in Unity.
I have more effects in the one for the jam-like Audio Analyzer that reacts to beats etc… But I didn’t want to have a too-long devlog, and I know everyone is only interested in the main part of the shader.
I really had fun making this one for the jam and I wanted to show you some experiments I did with it and what you can visually achieve with it:
Thanks for reading and don’t forget to pay me in wishlists!